Last Updated on October 5, 2022
As best practice, whenever you have a new project in Python you should always run it in a virtual environment so that packages will not be installed globally that may affect system tools.
The most common virtual environment for Python3 is virtualenv.
By default, Python3 is already installed in Ubuntu, but virtualenv is not.

The solution below has been tested with the following Ubuntu versions.
- Ubuntu 22.04 LTS
- Ubuntu 20.04 LTS
Table of Contents
- Installation of virtualenv in Ubuntu
- Creating virtual environment using virtualenv
- Activating virtualenv
- Deactivating virtualenv
- Deleting virtualenv environment
- Tips on using virtualenv
How to install virtualenv in Ubuntu
To install Python 3’s virtualenv in Ubuntu run the command below.
sudo apt install python3-virtualenv -y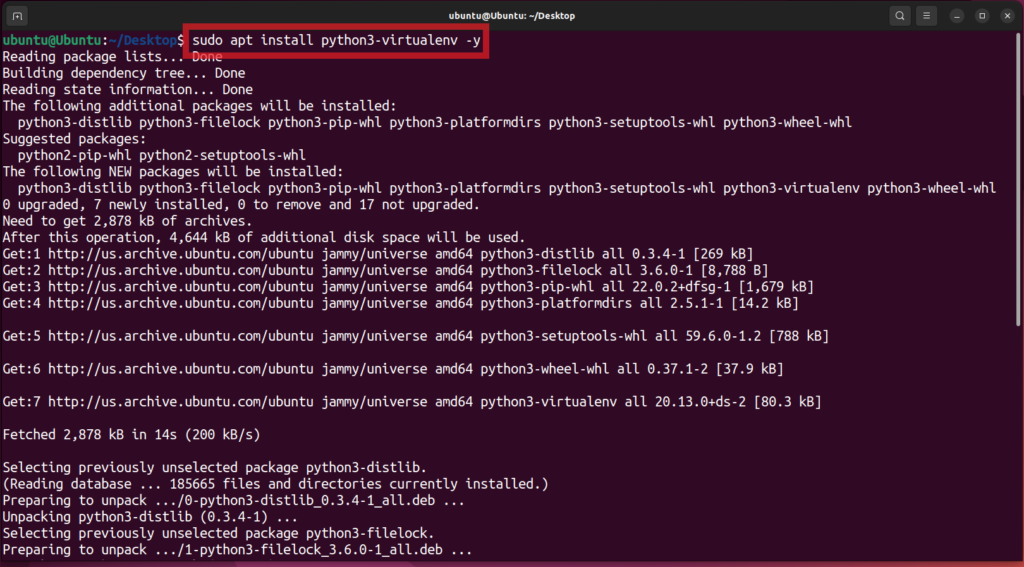
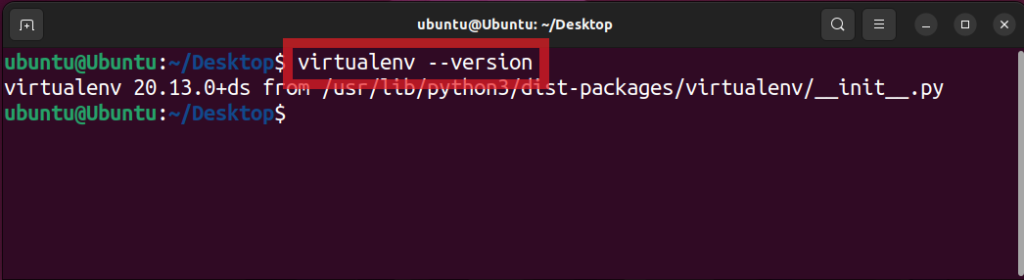
To test the installation check the version of virtualenv by running the command below.
virtualenv --versionIf the command shows the version of virtualenv and did not show an error then you have successfully installed virtualenv.
Create virtual environment using virtualenv in Ubuntu
Now that virtualenv is installed, what we need to do is create a virtual environment to use in your project.
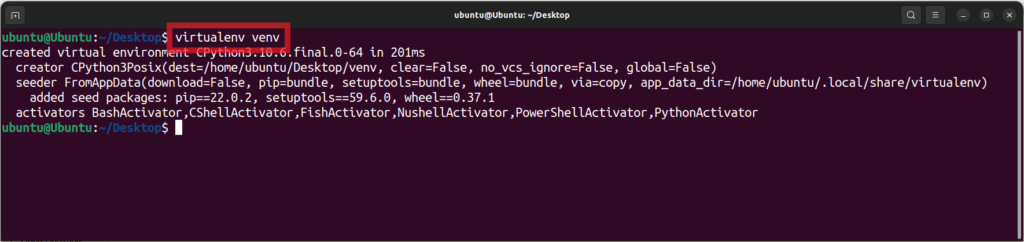
Run the command below to create a virtual environment using virtualenv.
virtualenv venvNote: venv is the name of the virtual environment. You can change if you want another name.
This will create a folder named venv and install the necessary packages it needs to run the virtual environment.
In this step, we have only created the virtual environment in Ubuntu, but we still have not used it.
To use the virtual environment you should activate it first.
Activate virtual environment of virtualenv in Ubuntu
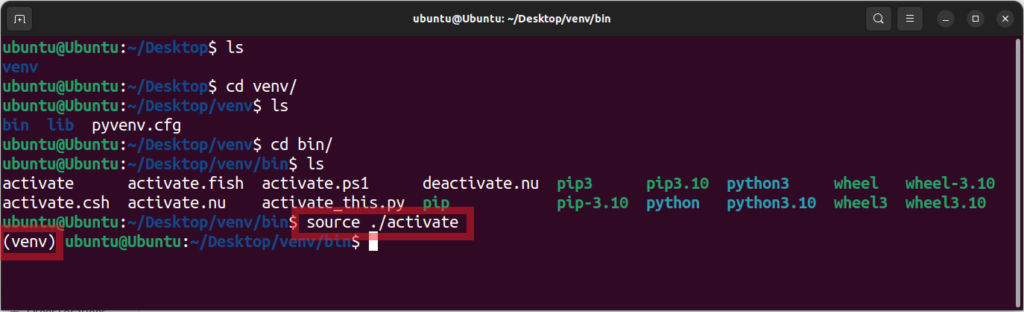
To activate the virtual environment, go inside the created virtual environment folder, then go inside the bin folder. Run the command below to activate the virtual environment.
source ./activateIf you see the name of your virtual environment inside a paranthesis at the front of the command prompt then it means that your virtualenv environment is activated. In my case it’s (venv).
Below is a screenshot where I list the files (ls) and changed directories (cd) into the subdirectories to activate my virtual environment.
Usually I just run the command below to quickly activate my virtualenv environment.
source ./venv/bin/activate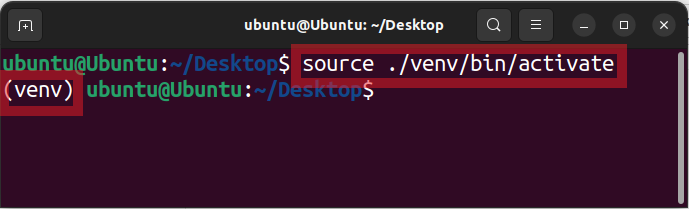
If you have a different name for your virtual environment, then just change the venv to the name that you used.
Once the virtualenv environment is activate you may now start installing Python packages and it will only install those packages inside the virtual environment.
Deactivate virtual environment of virtualenv in Ubuntu
If you are done using your virtual environment, then you will need to deactivate it.
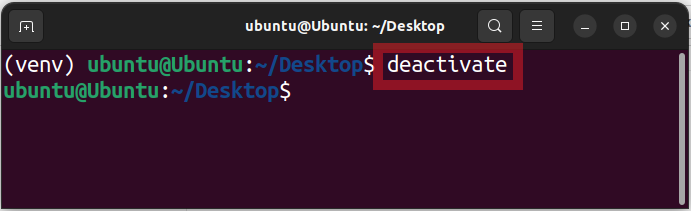
To deactivate the virtualenv environment, run the command below.
deactivateOnce the (venv) is no longer in the front of your command prompt then you have successfully deactivated your virtual environment.
Unlike the activate, you do not have to go inside the bin folder to deactivate the virtual environment. Just run the command deactivate in any folder as long as you are in the terminal session where the virtuelenv is activated.
Once the virtual environment is deactivated, when you install Python 3 packages via pip then it will install it globally.
Delete virtual environment created by virtualenv in Ubuntu
To delete a virtual environment that you created in Ubuntu, just delete the folder created by virtualenv.
Tips on using virtualenv
Create one virtual environment per project. This way day will be isolated from each other.
An activated virtual environment will only be activated in the Terminal Session that you activated it. If you open a new Terminal, then the new terminal will not see the activated virtuelenv.
You can have multiple activated virtual environment at the same time using multiple Terminal sessions.
We hope this helps you use virtualenv in your Python development.
Let us know your experience in the comments below.