Last Updated on July 11, 2023
If you want to install Visual Studio Code in Ubuntu then you can follow the steps below.
Note: I’ve tested the installation instruction below for Ubuntu 20.04 (Focal Fossa) and 22.04 (Jammy Jellyfish).
#1 Download the Visual Studio Code .deb installer
Go to https://code.visualstudio.com/#alt-downloads.
Under the Linux installers, select the .deb installer that is for your target platform.
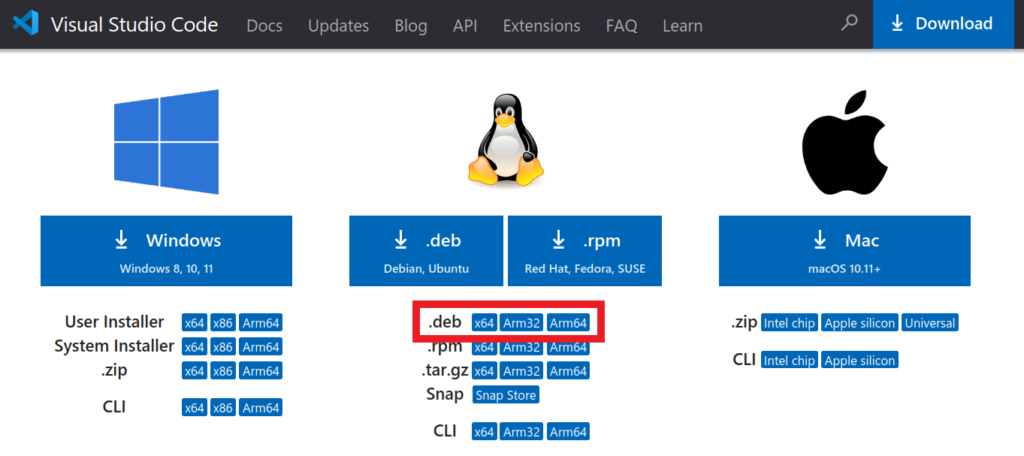
If you do not know which one to select, run the following command and
dpkg --print-architectureDownload the .deb installer that corresponds to the result of the command dpkg --print-architecture.
#2 Run command in Terminal
When the download has finished, open the terminal and cd to the folder where the .deb installer is.
Run the command below.
sudo apt install ./code_1.xx.x-xxxxx_amd64.deb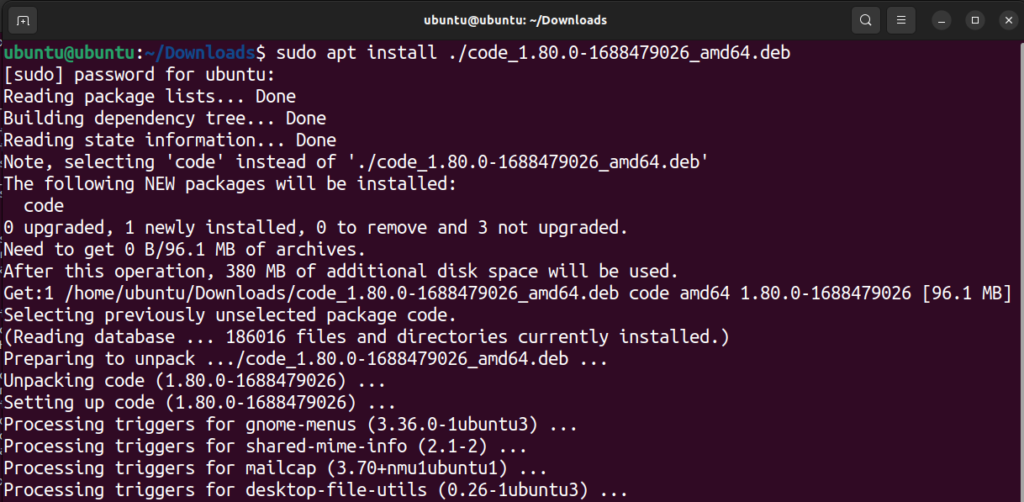
#3 Opening Visual Studio Code
To open Visual Studio Code in Ubuntu, click on the Applications Menu located, by default, on the lower left side of the screen and click on Visual Studio Code.
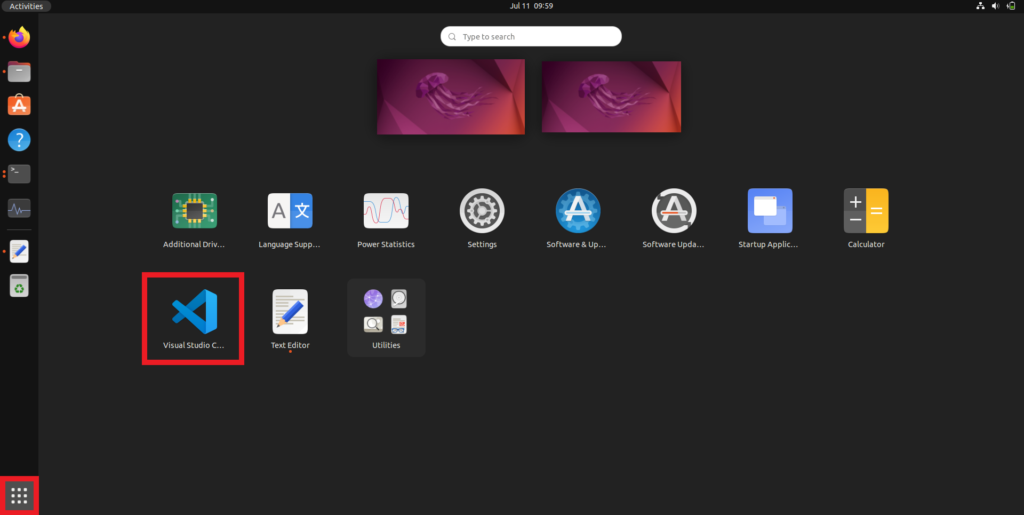
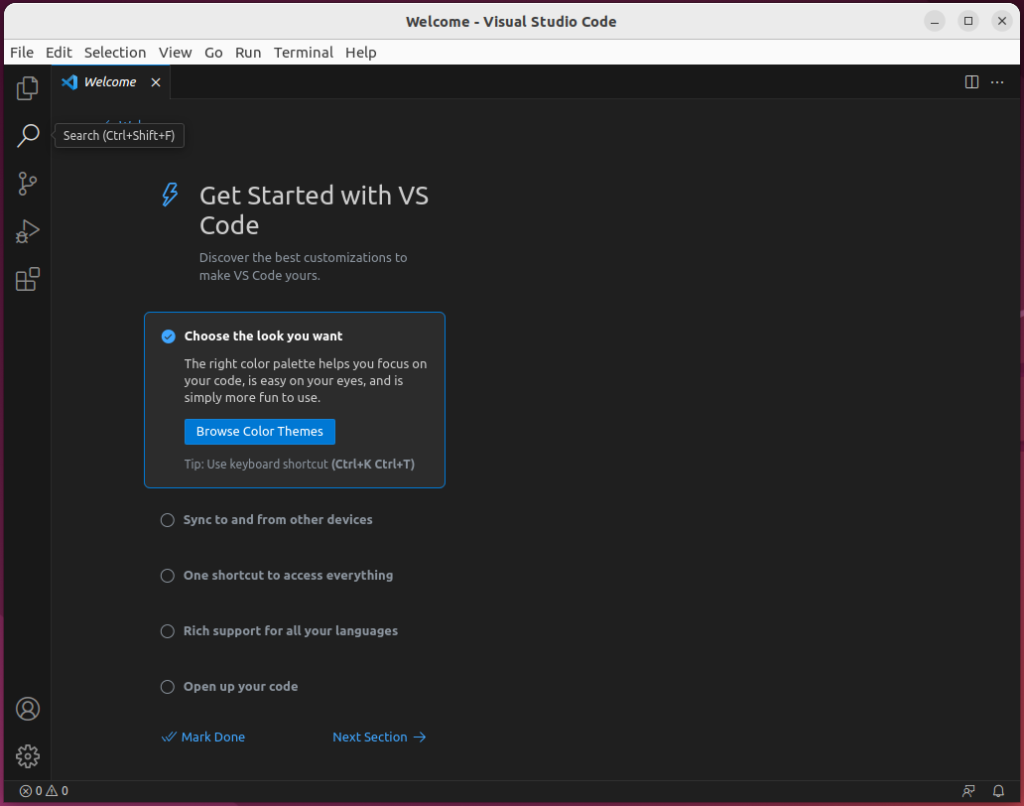
This will launch the Visual Studio Code.
#4 Updates
One of my concerns when installing by downloading the installer from VS Code’s website is if updates will be included whenever I run the sudo apt update and sudo apt upgrade command.
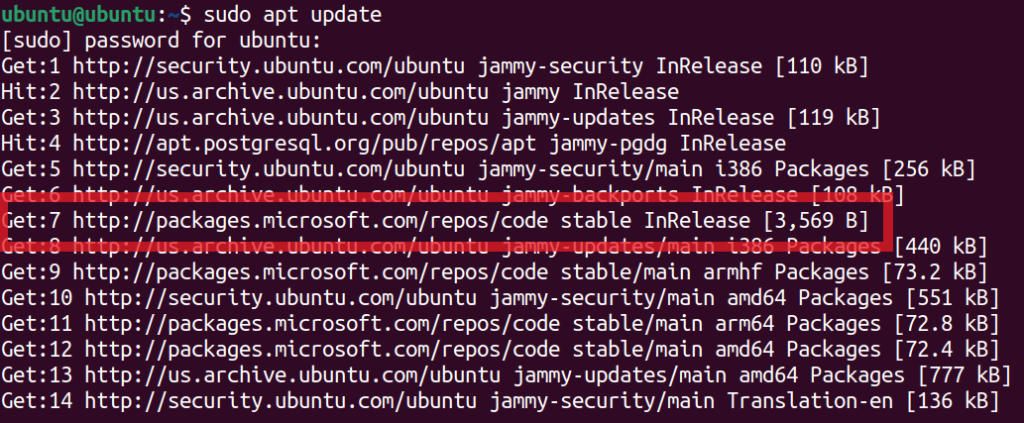
I am happy to report that the .deb installer also adds the Visual Studio Code to the system repository.
If you update Ubuntu, it will be included in the updates.
I hope this helps with your installation of Visual Studio Code in Ubuntu.
Let me know if you encounter any issues in the comments below.